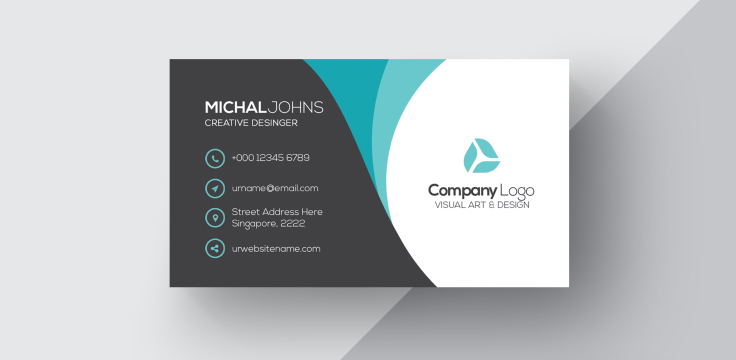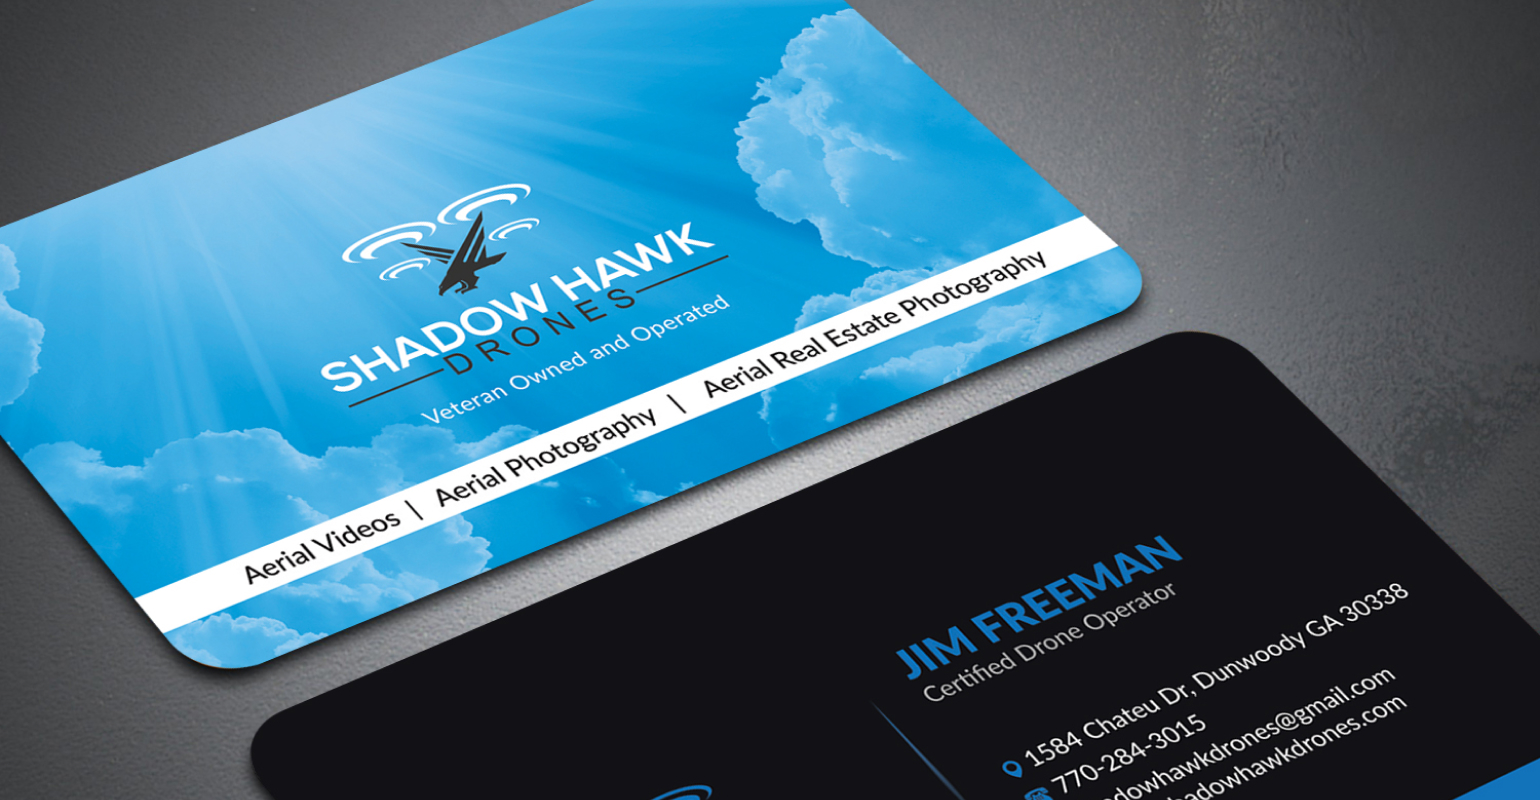
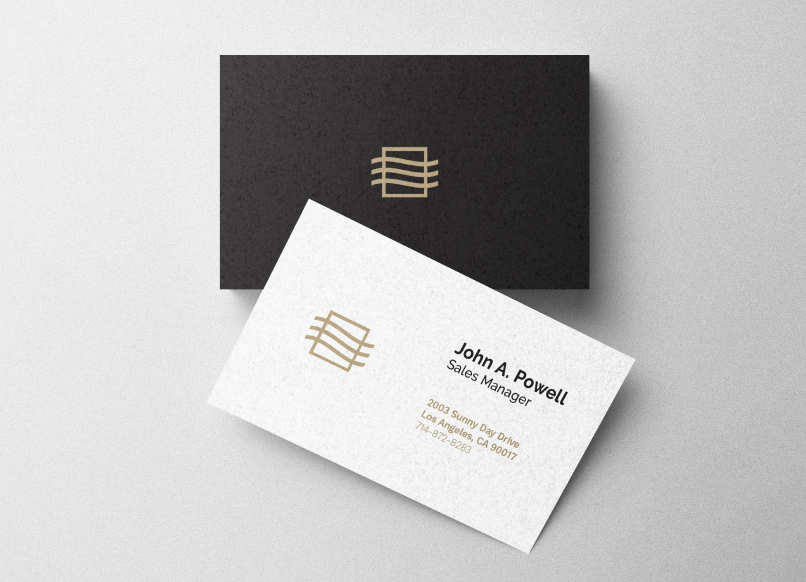
Add a bit of creative flair to your networking with the help of Discount Printing's super stylish rounded corner business card designs. It may not seem like much, but this unique design makes it possible for you to get the edge over other business cards out there, which can make a huge impact!
Get a quote on our rounded business card printing services today, or check out our various other business card options!
Order yours through our simple and cheap online printing service and enjoy a whole stack of benefits:
- Printed on quality 310gsm artboard
- Our team can design for you, or you can use your own design
- Flexible options for customisation, including lamination
- Super speedy turnaround time
- Delivery across Australia
- Stored artwork for 24 months, in case you need more printed!
Printing resources to inform and inspire.
We have a range of popular templates to choose from to help you get started.
View all templatesGet a same day quote
Have you selected all required Instant Price Check options?
Print-ready artwork explained
The process of ensuring artwork is 'print-ready' involves a common set of industry standards.
Here, we’ll briefly go through some of the universal basics including what the terms mean, and why each one is important. Or, read our detailed explanation of print-ready artwork, designed to make the process easier.
1. Bleed
At Discount Printing, we require a ‘3mm bleed’ for print-ready artwork. In printing, bleed refers to a visual style where the colour extends all the way to the edge of the paper. 3mm bleed is designed to ensure there are no thin white strips on the edges of the card in the final product.
2. 1-up on a single page
‘1-up’ printing means that each printed page is a separate page within your supplied artwork file. This is particularly important in relation to brochure and calendar printing, for example.
3. Nominate all colours as CMYK
When designing artwork, there are two main colour systems used to determine colours: RGB and CMYK. Before supplying final artwork, be sure to check the colour mode being used by your design application or software, and change it to CMYK if necessary.
4. Ensure your file type is correct
Ensure you create or submit your artwork as one of the following file types: PDF (our main preference for file types), TIFF, JPG, or EPS.
- PDF (our main preference for file types)
- TIFF
- JPG
- EPS
5. Use high resolution artwork and imagery
At Discount Printing, we request all artwork is supplied at a resolution of 300dpi or higher, because artwork with a low dpi value can print as blurry or pixelated. DPI is relatively common information that should be easy enough to find—even simple programs like Microsoft Paint can provide a reading on values.
6. Convert text to paths, curves or outlines
In this instance, ‘paths’, ‘curves’ and ‘outlines’ are relatively interchangeable. Each term refers to the process involved in transforming the text in your artwork into a graphic element. If the text in the artwork is converted and saved as a graphical element, or image, it cannot be changed. ‘Create outlines’—or similar—is a common function in the Adobe suite of design programs.
Need further help?
Read our detailed guide to print-ready artwork or call 1300 663 120 for further information on your printing requirements.

 1300 663 120
